 The Drape Review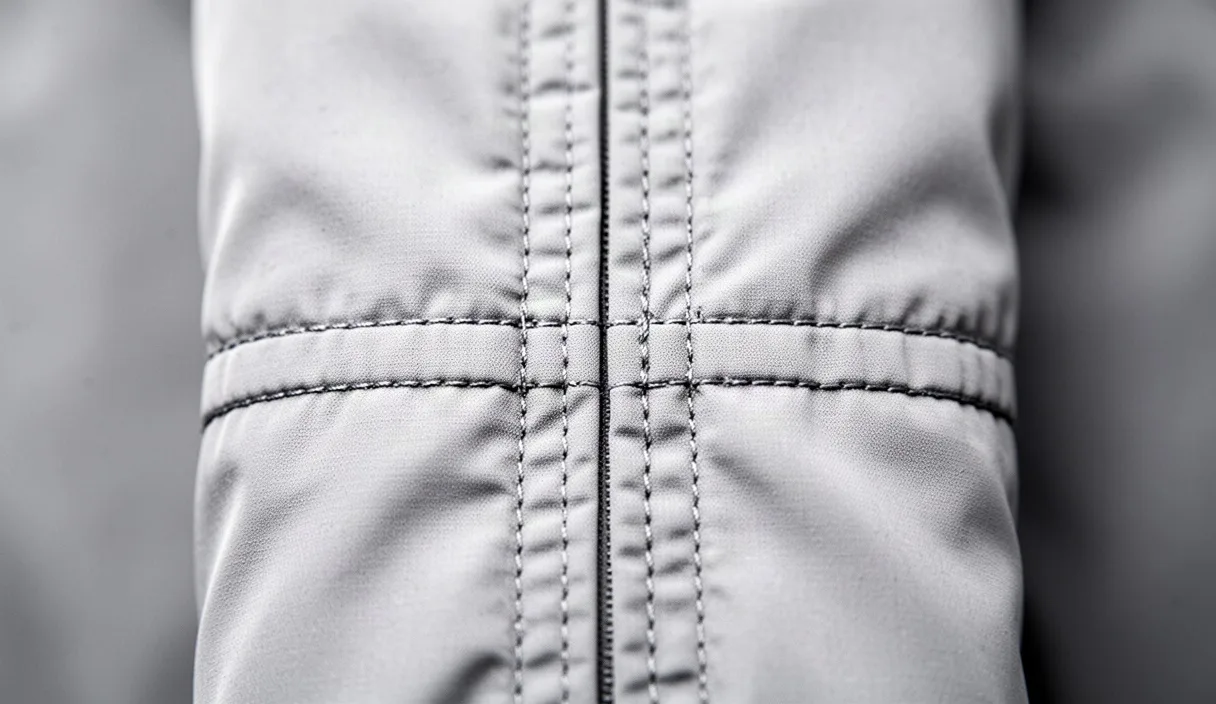
Stitching is the part of a garment most buyers never examine closely, yet it determines whether a piece survives fifty wears or five. A seam is a mechanical joint. It is made of thread, fabric, and the tension between them, and like any mechanical joint it can be inspected for the same signs of competence or neglect that an engineer would look for in a weld or a bolted connection. This checklist is written for anyone buying, reselling, or simply trying to understand why one shirt lasts three years and a nearly identical one falls apart at the armpit in three months.
The inspection below does not require special tools. A seam ripper, a bright light, and the willingness to turn a garment inside out are enough. Each section defines what to look for, states the acceptable range where one exists, and notes the exceptions that apply to certain fabrics or garment types.
Why Stitching Quality Affects Garment Lifespan
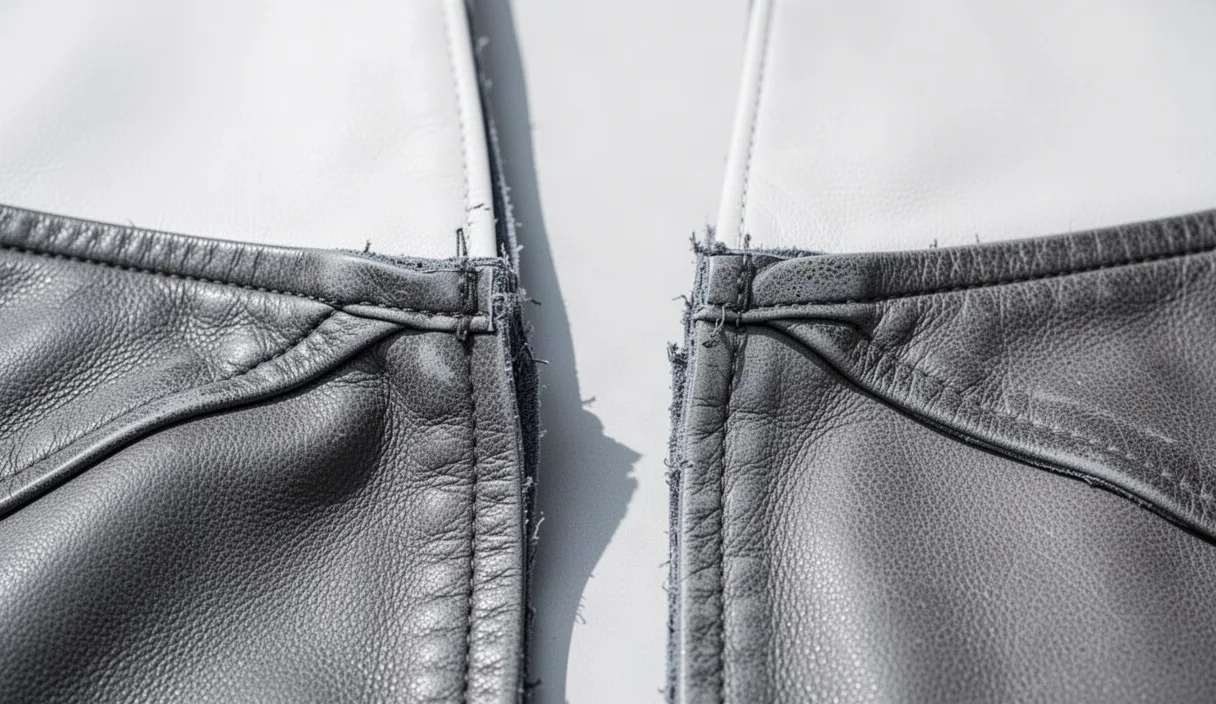
A seam fails in one of three ways: the thread breaks, the thread pulls out of the fabric, or the fabric tears around the stitch holes. Each failure mode points to a different root cause. Thread breakage usually means the thread was too fine for the fabric weight or was weakened by excessive heat during pressing. Thread pull-out points to stitches set too far apart or to a seam allowance that is too narrow. Fabric tearing around stitch holes, sometimes called "seam grin" when it happens without full failure, usually means the needle used was too large for the fiber or the fabric was loosely woven to begin with.
Garment lifespan is not just about the first failure. A well-constructed seam distributes stress along its length; a poorly constructed one concentrates stress at a single point, typically where two seams cross, such as the underarm intersection of a sleeve and side seam. That single point is usually the first place a cheaply made garment fails, often within the first ten to twenty wash cycles.
Stitching quality also affects how a garment ages visually, independent of failure. Uneven stitching puckers fabric over time, especially with repeated washing, and the pucker becomes more visible as the garment is laundered. This is why a shirt can look fine on a hanger in a store but show rippled seams after three months of ownership.
Stitch Density and Evenness
Stitch density is measured in stitches per inch (SPI). Most woven garments, including dress shirts and trousers, use 8 to 12 SPI. Denim and outerwear seams that need to withstand abrasion typically run 6 to 8 SPI with heavier thread. Knitwear and stretch fabrics use specialized stitches rather than straight lock stitches, so SPI comparisons do not apply the same way.
To check SPI, measure one inch of a straight seam with a ruler and count the individual stitch points visible on the surface. Fewer than 6 SPI on a woven garment usually signals a seam that will loosen with wear. More than 14 SPI can actually weaken a seam by perforating the fabric with too many needle holes close together, a problem sometimes seen in machine-made "fast fashion" items trying to visually mimic fine tailoring.
Evenness matters as much as density. Lay the seam flat and look along its length: stitch length should not visibly vary, and the seam line should run straight, not waver side to side. Waviness usually indicates the fabric was fed through the machine without proper tension control, which is common on inexpensive production lines running at high speed.
- Acceptable: 8-12 SPI on wovens, consistent stitch length, straight seam line.
- Caution: fewer than 6 SPI, or visible gaps between stitches larger than the stitches themselves.
- Red flag: stitch length changing mid-seam, which usually means thread tension was never properly set on the machine.
Seam Types: Flat-Felled, Overlocked, French
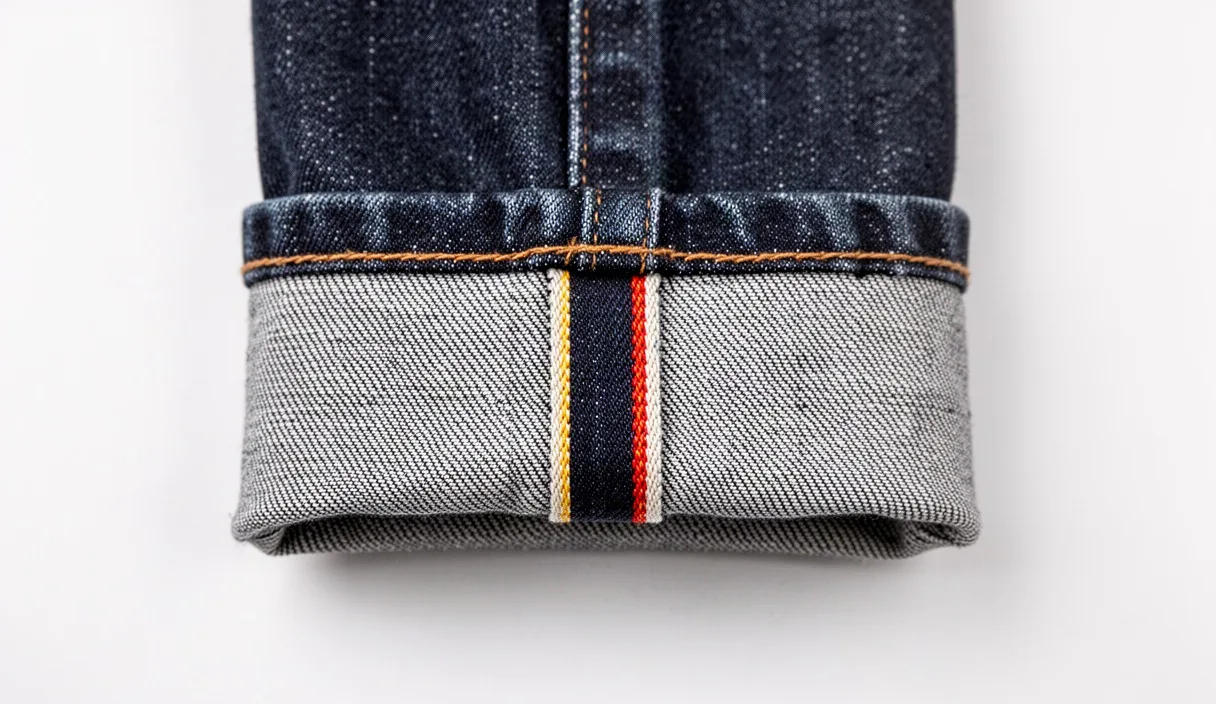
Different seam constructions serve different purposes, and none is universally "better." A flat-felled seam, recognizable by two parallel rows of visible stitching on the outside of the garment, encloses the raw fabric edge entirely and is standard on jeans and quality work shirts because it resists fraying and can take abrasion from both directions. An overlocked seam, where a serger wraps thread around the raw edge, is faster to produce and common on t-shirts and casual knitwear; it is adequate for light wear but less durable under repeated lateral stress than a flat-felled seam.
A French seam encloses the raw edge inside a second, narrower seam and is typically found on lightweight wovens such as silk blouses or fine cotton shirting, where bulk needs to stay minimal and the fabric frays easily. It is rarely used on heavier fabrics because the double fold adds unwanted thickness.
| Seam Type | Typical Use | Durability Note |
|---|---|---|
| Flat-felled | Jeans, work shirts, outdoor gear | High abrasion resistance, visible double stitching |
| Overlocked | T-shirts, knitwear, casual garments | Fast to produce, moderate durability, can unravel if cut thread is pulled |
| French | Silk, fine cotton, lightweight blouses | Clean finish, low bulk, not suited to heavy fabric |
When inspecting a garment, check whether the seam type matches the fabric and intended use. A lightweight cotton t-shirt with a French seam is unusual and not necessarily a flaw, but a heavy canvas jacket relying only on a single overlocked seam at the shoulder is undersized for the stress that seam will carry.
Checking Stress Points
Stress points are locations where multiple seams meet or where the body's movement repeatedly pulls on the fabric: underarms, crotch seams, the base of a zipper fly, pocket corners, and the point where a collar meets the shoulder seam. These areas fail first because stress is concentrated rather than distributed.
At each stress point, look for reinforcement, which can take the form of a bar tack (a small, dense cluster of zigzag stitches), a double row of stitching, or a triangular fabric gusset inserted at the underarm. The presence of a bar tack at pocket corners and the base of a zipper fly is a reliable sign that the manufacturer anticipated where the garment would be pulled hardest.
A simple test: gently pull the fabric apart at the underarm seam and at a pocket corner, applying moderate hand tension, not force. If you see the fabric puckering sharply around the stitch holes or hear thread creaking, that point is under-reinforced and likely to be the first failure site. This test should be done gently; aggressive pulling can damage a garment you have not yet purchased.
- Underarm intersection of sleeve and side seam
- Crotch seam on trousers, especially where it meets the inseam
- Pocket corners, particularly on jeans and cargo pants
- Base of a zipper fly
- Collar-to-shoulder seam junction
Thread Quality Indicators
Thread fiber should generally match or complement the garment fabric. Cotton garments are often sewn with cotton-wrapped polyester or pure polyester thread for strength, since pure cotton thread, while breathable and traditional, has lower tensile strength and can break down faster under repeated stress. Polyester and nylon thread resist rot and mildew better than cotton thread, which matters for garments likely to be washed frequently or exposed to moisture.
Visually, good thread has a consistent sheen and diameter along its length. Thread that looks fuzzy, frayed, or has visible thin spots before the garment has even been worn was likely already damaged by friction in the sewing machine, often from being run through at too high a speed or with a dull needle. This kind of pre-damaged thread will fail early regardless of stitch density.
Check also for color match between thread and fabric unless a contrast stitch is clearly a design choice. Thread that doesn't match the fabric color on a seam meant to be invisible usually signals a change of thread spool mid-production, sometimes indicating inconsistent quality control, though it is a cosmetic issue rather than a structural one.
Inspecting Hems and Buttonholes
Hems should be checked for consistent width around the entire circumference of the garment; a hem that varies by more than roughly a quarter inch in width from one side to the other usually indicates the garment was not pressed or measured properly before stitching. On trousers and skirts, a blind hem (where stitches are invisible from the outside) is a sign of more careful construction than a straight visible topstitch, though a topstitched hem is not inherently defective, it is simply a faster, less labor-intensive method.
Buttonholes should be inspected for density of stitching around the edge, since a buttonhole is essentially a controlled tear in the fabric that must be reinforced to prevent it from expanding with use. Machine-stitched buttonholes should show tight, even satin stitching with no visible gaps in the thread coverage, and the fabric inside the hole should be fully cut and clean, not frayed. Loose threads poking out from inside a buttonhole, or a buttonhole that has already started to stretch out of shape on a new garment, both indicate it will likely tear within a normal wear cycle.
Buttons themselves should be checked for a thread shank, a small wrapped stalk of thread between the button and the fabric, which allows the button to sit away from the fabric for buttoning without strain. A button sewn flat against the fabric with no shank will strain the surrounding threads every time it's fastened and is more likely to pop off early.
Red Flags That Signal Poor Construction
Certain signs reliably predict early failure, regardless of brand name or price point. These are worth checking before purchase since they are difficult to fix after the fact without professional alteration.
- Visible skipped stitches, where a gap larger than the surrounding stitch length appears mid-seam
- Puckering along a seam while the garment is still new and unworn
- Seam allowances narrower than three-eighths of an inch on wovens, which leaves little margin before the seam pulls apart
- Raw, unfinished edges inside the garment on fabrics prone to fraying, such as loosely woven cotton or linen
- Thread color mismatches on structural, non-decorative seams
- Buttons or snaps already loose on a garment that has never been worn
Any one of these on its own may not doom a garment, but two or more appearing together on the same piece is a reasonable basis to assume the overall construction quality is low, not just the specific spot inspected.
Common mistakes
Buyers often judge a garment by the right side of the fabric alone and never turn it inside out, missing raw seam allowances and skipped stitches visible only from the interior. Another common mistake is assuming higher stitch density is always better, when in fact overly dense stitching on certain fabrics perforates and weakens them. Finally, many people pull on the main body of a seam to test strength rather than the actual stress points, which gives a misleading sense of durability since the body of a seam rarely fails first.
Next Steps
Before purchasing a garment, especially one above a moderate price point, spend two to three minutes turning it inside out and running through this checklist: SPI, seam type appropriateness, stress point reinforcement, thread consistency, and hem evenness. For garments already owned that show early signs of seam failure, a local tailor or seamstress can usually reinforce a stress point or re-stitch a loosening seam for a modest fee, often extending the garment's life significantly more than the repair costs. If a seam failure appears paired with fabric damage, such as tearing beyond the stitch line, that is generally a sign the garment has reached the end of its practical repair window, and a professional tailor should be consulted to assess whether repair is worthwhile versus replacement.