 The Drape Review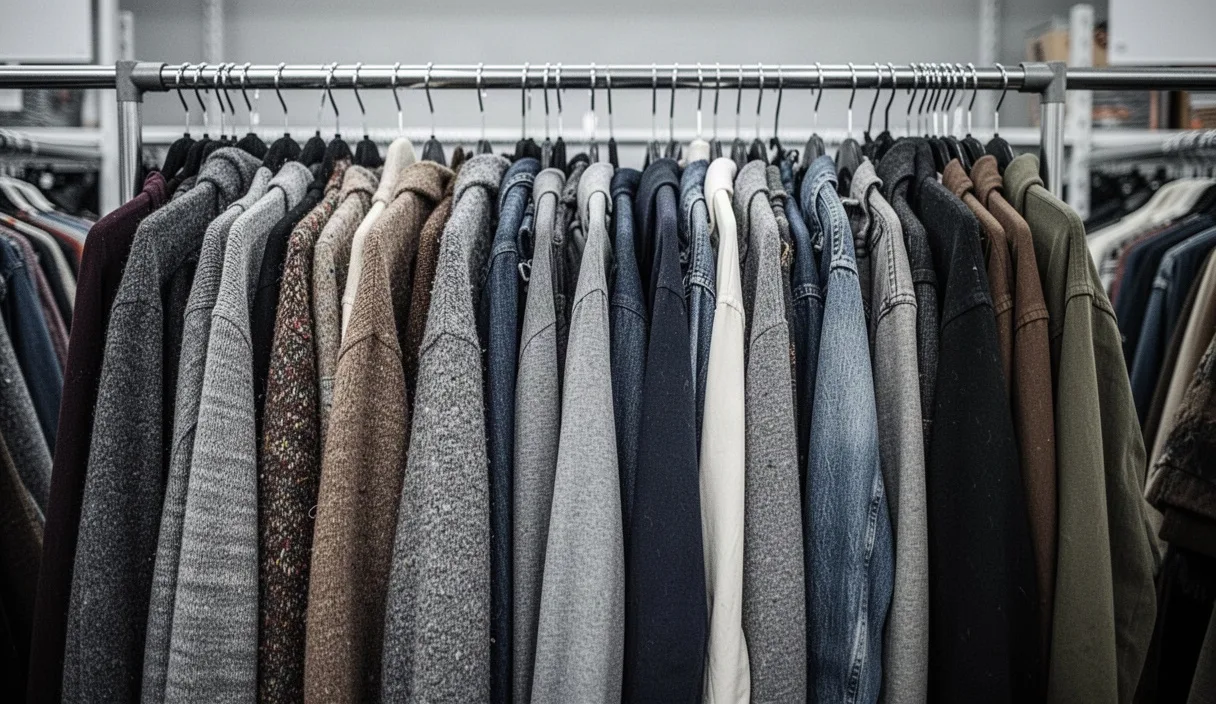
Secondhand clothing carries a different risk profile than retail. A garment on a thrift store rack has already been worn, washed an unknown number of times, and stored in conditions you cannot verify. The price reflects that uncertainty, but the responsibility for checking quality shifts entirely to the buyer. There is no return window in most consignment shops, and "final sale" signage at thrift retailers is standard, not exceptional.
This checklist covers seven inspection points in the order most experienced thrift buyers work through a garment: from surface-level checks you can do in ten seconds, to structural and fit questions that take a few minutes. Skipping steps does not save meaningful time: a full inspection of one item takes under three minutes once the sequence is familiar.
Checking for Stains and Odor
Start with smell, not sight. Hold the garment at chest height and inhale near the underarms, collar, and crotch seam (for pants). Mildew smells musty and sharp; it indicates the item was stored damp and may have active mold spores in the fibers, which washing does not always eliminate. Smoke odor clings to synthetic fibers like polyester and acrylic far more than to cotton or wool, and it frequently resists two or three washes.
For visible staining, check in direct light, not the dim lighting common in thrift stores. Underarm yellowing on white or pale fabric is oxidized deodorant residue combined with body oil; it is one of the hardest stains to remove and often does not respond to standard laundering. Hold the fabric up to a window or step outside if the store allows it.
A practical test: rub a cotton swab dampened with water on a small hidden area, such as the inside hem. If color transfers, the garment may be bleeding dye, which complicates future laundering since it will need to be washed separately indefinitely.
- Check armpits, collar, and cuffs first: these areas show wear and staining earliest.
- Smell the crotch seam on trousers and the underarm panel on shirts specifically, not just the general garment.
- Reject items with stiff, discolored patches near the collar; this is often old makeup or sunscreen residue, not dirt, and it sets permanently into fabric over time.
Inspecting Seams and Closures
Turn the garment inside out. Seams under stress, side seams on fitted garments, the crotch seam on pants, and shoulder seams on jackets, show fraying before anything else fails. Look for loose threads longer than about 3mm hanging from the seam line; this indicates the stitching has started to unravel rather than just shed a single fiber.
Pull gently, not forcefully, on seams at the underarm and crotch. A properly sewn seam will not gap or show the inner fabric edge. If you see white or frayed fabric edges through the seam, the stitching has already partially failed and will likely reopen within a few wears.
Check every button by pulling it away from the fabric with light pressure, and inspect the thread holding it on for fraying. Zippers should be tested through a full cycle, up and down, not just a single inch. A zipper that catches partway is often repairable by a tailor, but a zipper missing teeth is not; replacement is the only fix, and that typically costs between 12 and 25 dollars at a tailor depending on garment type.
Fabric Pilling and Stretching
Pilling, the small balls of fiber that form on fabric surface, occurs from friction during wear and washing. It is most visible under bright, angled light on areas like the inner thighs of pants, the underarm region of sweaters, and anywhere fabric rubs against itself or a bag strap. Light pilling on cotton can often be removed with a fabric shaver, but heavy pilling on synthetic blends like polyester-cotton usually indicates the fibers have broken down structurally and will continue pilling regardless of treatment.
Stretching is a separate issue from pilling and is harder to reverse. Check ribbed cuffs, waistbands, and necklines, these are the first areas to lose elasticity. Stretch the ribbing gently with two hands; it should contract back to close to its original shape within a second or two. If it stays stretched or springs back slowly, the elastic fibers (often spandex or elastane blended at 2 to 5 percent) have degraded and the garment will not hold its shape through future wears.
Knit garments, sweaters in particular, should be checked at the shoulders and back where they drape over a hanger for extended periods in storage. Hanger stretching at the shoulder seams is permanent and not something steaming or washing corrects.
Verifying Size Through Measurement, Not Tags
Sizing on secondhand garments is unreliable for three separate reasons: brand sizing has changed over decades (a size 8 made in 1995 runs smaller than a size 8 made in 2015 in most American brands), the tag may have been replaced or mismatched by a previous owner, and shrinkage from washing alters the original stated size unpredictably depending on fiber content.
Carry a soft tape measure and check three points regardless of what the tag says: chest or bust circumference (measured flat, doubled), waist circumference, and inseam or sleeve length depending on garment type. Compare these numbers to a well-fitting item you already own, measured the same way, rather than trusting a size chart from the brand's current website, since vintage and older stock will not match current charts.
| Garment type | Key measurement | Typical tolerance |
|---|---|---|
| Button-up shirt | Shoulder seam to shoulder seam | within 1 cm of your own fit |
| Trousers | Waistband flat width x2 | within 2 cm, since waist fit is least forgiving |
| Knit sweater | Chest circumference flat x2 | within 3 to 4 cm, knit fabric has give |
Jeans and structured trousers have almost no tolerance for error since denim and stiff cotton blends do not stretch to accommodate a miscalculation. Knitwear has more flexibility because of fabric give, so a slightly smaller knit sweater is a more forgivable purchase than slightly smaller jeans.
Checking for Structural Damage
Hold lined jackets and coats up to light and check the lining separately from the shell fabric. Lining tears are common and relatively cheap to repair, usually 15 to 30 dollars at a tailor, but a torn or missing interior pocket bag can indicate the garment was used heavily and may have other hidden wear.
Check elbows on sweaters and jackets by stretching the fabric slightly; thinning fabric here will appear almost translucent compared to the surrounding area, a sign the fibers are close to tearing through. Check knees on trousers the same way.
For structured items like blazers, press on the shoulder pads and collar to check if interior structure (canvas or fused interfacing) has separated from the shell fabric, a flaw that shows as bubbling or an uneven collar roll. This is a sign of fusing failure, common in older fused-construction blazers, and it is not something a home fix addresses reliably.
Check snap closures, hook-and-eye fasteners, and any hardware for rust, particularly on items that may have been stored in a damp basement or garage. Rust transfers to fabric and the stain is usually permanent.
Evaluating Care Requirements Before Purchase
Read the care label before deciding on the garment, not after bringing it home. "Dry clean only" garments carry an ongoing cost, typically 8 to 20 dollars per cleaning depending on region and garment size, that should factor into whether the thrift price is actually a saving.
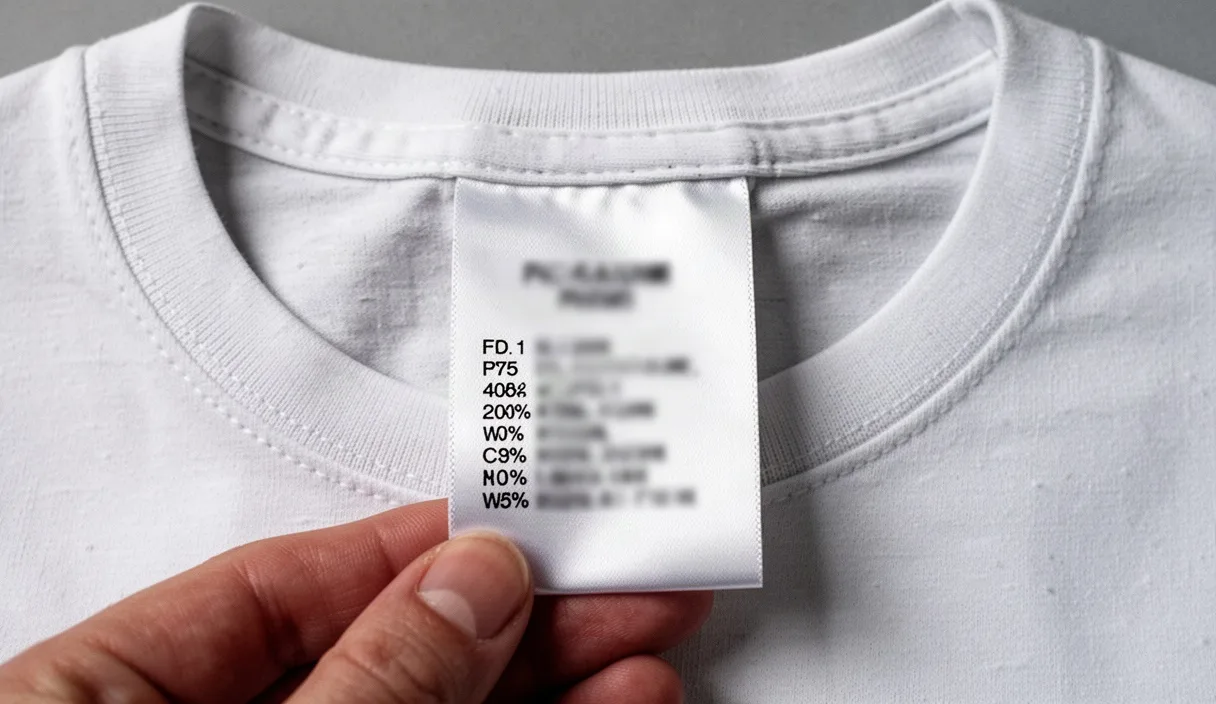
If the care label is missing or illegible, which happens often with older secondhand items, identify the fiber content from the fabric content tag if one remains. Wool and silk require more careful handling (hand wash cold or dry clean) than cotton or polyester, which generally tolerate machine washing. When in doubt about an unlabeled garment, a professional cleaner can advise on safe handling before you risk washing it yourself.
Consider also whether the garment requires ironing, specialty detergent, or line drying as a maintenance routine. A linen shirt that needs ironing after every wash represents a time cost that some buyers factor into the purchase decision and others do not; it is worth being honest about your own laundry habits before buying.
When a Flaw Is Repairable vs a Dealbreaker
Not every flaw found in the previous sections should end the purchase. The distinction generally comes down to whether the damage is localized and mechanical (fixable by a tailor) or distributed and chemical or structural (not fixable).
| Flaw | Generally repairable | Generally a dealbreaker |
|---|---|---|
| Loose button | Yes, under 5 dollars | |
| Small seam opening | Yes, 5 to 15 dollars | |
| Broken zipper teeth | Replacement needed, cost may exceed garment value | |
| Underarm yellowing | Usually permanent | |
| Moth holes, multiple | Indicates infestation risk, consult before buying | |
| Fused interfacing bubbling | Structural, not cost-effective to fix |
A useful rule: if the repair cost plus the purchase price exceeds what a comparable new or better-condition secondhand item would cost, the flaw is a practical dealbreaker even if technically fixable. For moth damage specifically, check for more than one hole; multiple small holes clustered in wool fibers suggest an active or recent infestation, and bringing the garment home risks spreading larvae to other stored textiles. If moth activity is suspected, isolating the item in a sealed bag until a professional cleaner or pest specialist can assess it is the safer approach.
Common Mistakes
Buyers frequently check only the front of a garment and skip the lining, the inside seams, and the underarm area entirely. Another common error is trusting the size tag over an actual measurement, particularly with vintage items where sizing conventions differ from current standards. Shoppers also tend to inspect in dim store lighting and miss staining or thinning fabric that becomes obvious at home under better light, by which point the return window, if any existed, has often closed.
Next Steps
Build a small inspection kit before your next thrift trip: a soft tape measure, a small flashlight for checking seams and linings in dim store lighting, and a short mental checklist following the order above. Try the full sequence on three or four garments during one visit to build speed, since each inspection should take under three minutes once the steps become routine. For any garment with ambiguous fiber content or suspected mold, mildew, or infestation, consult a professional cleaner before bringing it into your home alongside other textiles.